


Resole Shoes Yourself - A Step-by-Step Guide
Extend the Life of Your Shoes by Resoling Them Yourself
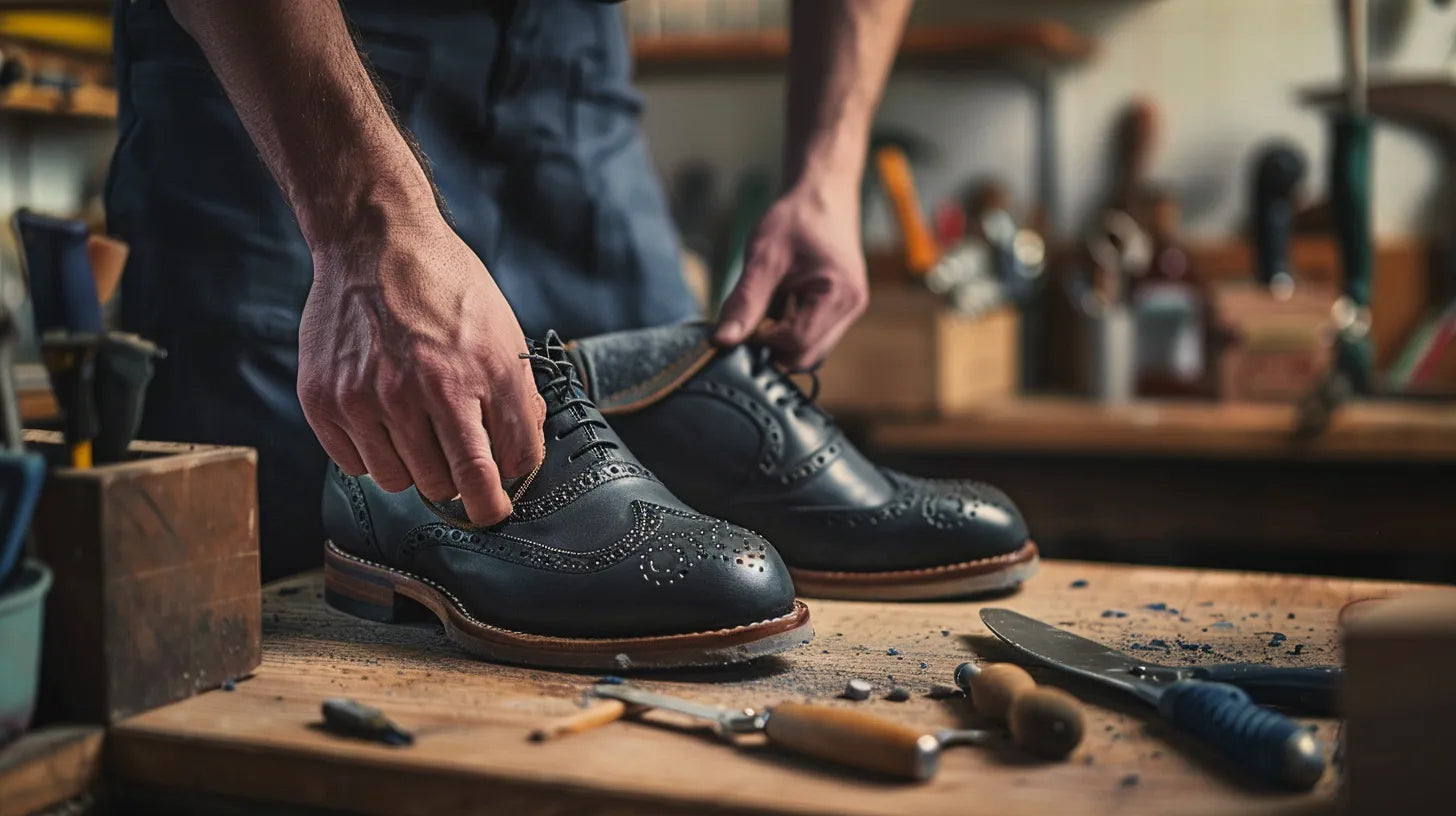
Do you have a beloved pair of shoes that are starting to look worn out on the soles? Don't worry! Resoling your shoes at home is easier than you think. By giving your shoes a little extra love, you can extend their lifespan and save money in the process. Here at Heppo, we want to inspire you to take care of your shoes and give them new life. Follow our step-by-step guide and learn how to resole your shoes like a pro!
Tools and Materials You Need to Resole Shoes
Before you begin the process of resoling your shoes, make sure you have the following tools and materials on hand:
- New sole that fits your shoes
- Cobbler's knife or sharp tool to remove the old sole
- Sandpaper to smooth out the surface
- Shoe-specific contact adhesive
- Brush to apply the adhesive
- Weight or press to ensure the new sole adheres properly
Make sure to work in a well-ventilated area and protect your work surface with newspaper or plastic.
Step 1: Remove the Old Sole
Use the cobbler's knife or a sharp tool to carefully remove the old sole from the shoes. Start at the toe and work your way back. Be careful not to damage the shoe upper during the process. If there are any remnants of old adhesive, use sandpaper to smooth out the surface and create a clean area for the new sole.
Step 2: Prepare the New Sole
Place the new sole against the shoe and mark where you need to trim for a perfect fit. Use scissors or a cobbler's knife to carefully cut the sole to match the shape of the shoe upper. Ensure the sole fits snugly against the shoe without any gaps.
Tip: Test the sole against the shoe multiple times during the trimming process to ensure an accurate fit.
Step 3: Apply Adhesive to the Shoe and Sole
Use a brush to apply an even layer of contact adhesive to both the shoe upper and the new sole. Allow the adhesive to dry for a few minutes until it becomes tacky. This ensures a strong bond between the shoe and the sole.
Warning: Use contact adhesive in a well-ventilated area and avoid inhaling the fumes.
Step 4: Attach the New Sole to the Shoe
When the adhesive has become tacky, place the new sole onto the shoe, starting at the toe. Press the sole firmly and work your way back to avoid wrinkles or air bubbles. Use a weight or press to ensure the sole adheres evenly across the entire shoe. Allow the shoes to dry for at least 24 hours before wearing them.
Show Off Your Resoled Shoes with Style
Now that you've resoled your favorite shoes, it's time to show them off with pride! Pair your newly resoled shoes with a trendy outfit from Heppo's wide selection. Dare to experiment with colors and patterns to create a look that's uniquely yours. With proper care and maintenance, your shoes will last for many seasons to come.
At Heppo, you'll always find the latest in shoes and fashion for the whole family. Get inspired by our styling tips and trend reports, and discover clothing and accessories that suit your personal style. Together, we can create a wardrobe you love that lets your personality shine through. Visit Heppo today and discover your new favorite pieces!